Squeegee Art
On Thursday, I had the pleasure of guest posting over at Cheap Crafty Mama. I decided to do a tutorial on Squeegee Art.
I’ve always been a huge fan of abstract art. Some of my favorite forms of abstract art are Surrealism and Cubism. Dali and Picasso are two of my favorite artists. If you’re ever in St. Petersburg, Florida, go to the Dali museum. Take the tour with a tour guide. You won’t regret it. The museum is fantastic and it’s in a beautiful city that is close to the beach!
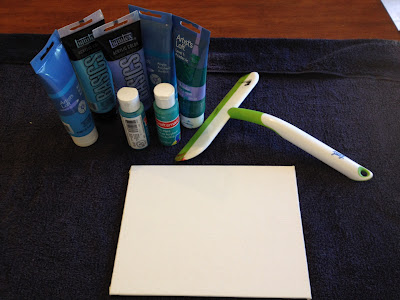
This project that I did is considered abstract art. I used a canvas panel, acrylic paints and a squeegee to complete this painting. This painting is actually the third that I have done using this method. You will find that this is a super easy, fun painting project that you can do by yourself or with your kids. All you will need are the following items:
- Paint in colors of your choice
- A squeegee
- Canvas
- Paper towels for any cleanup
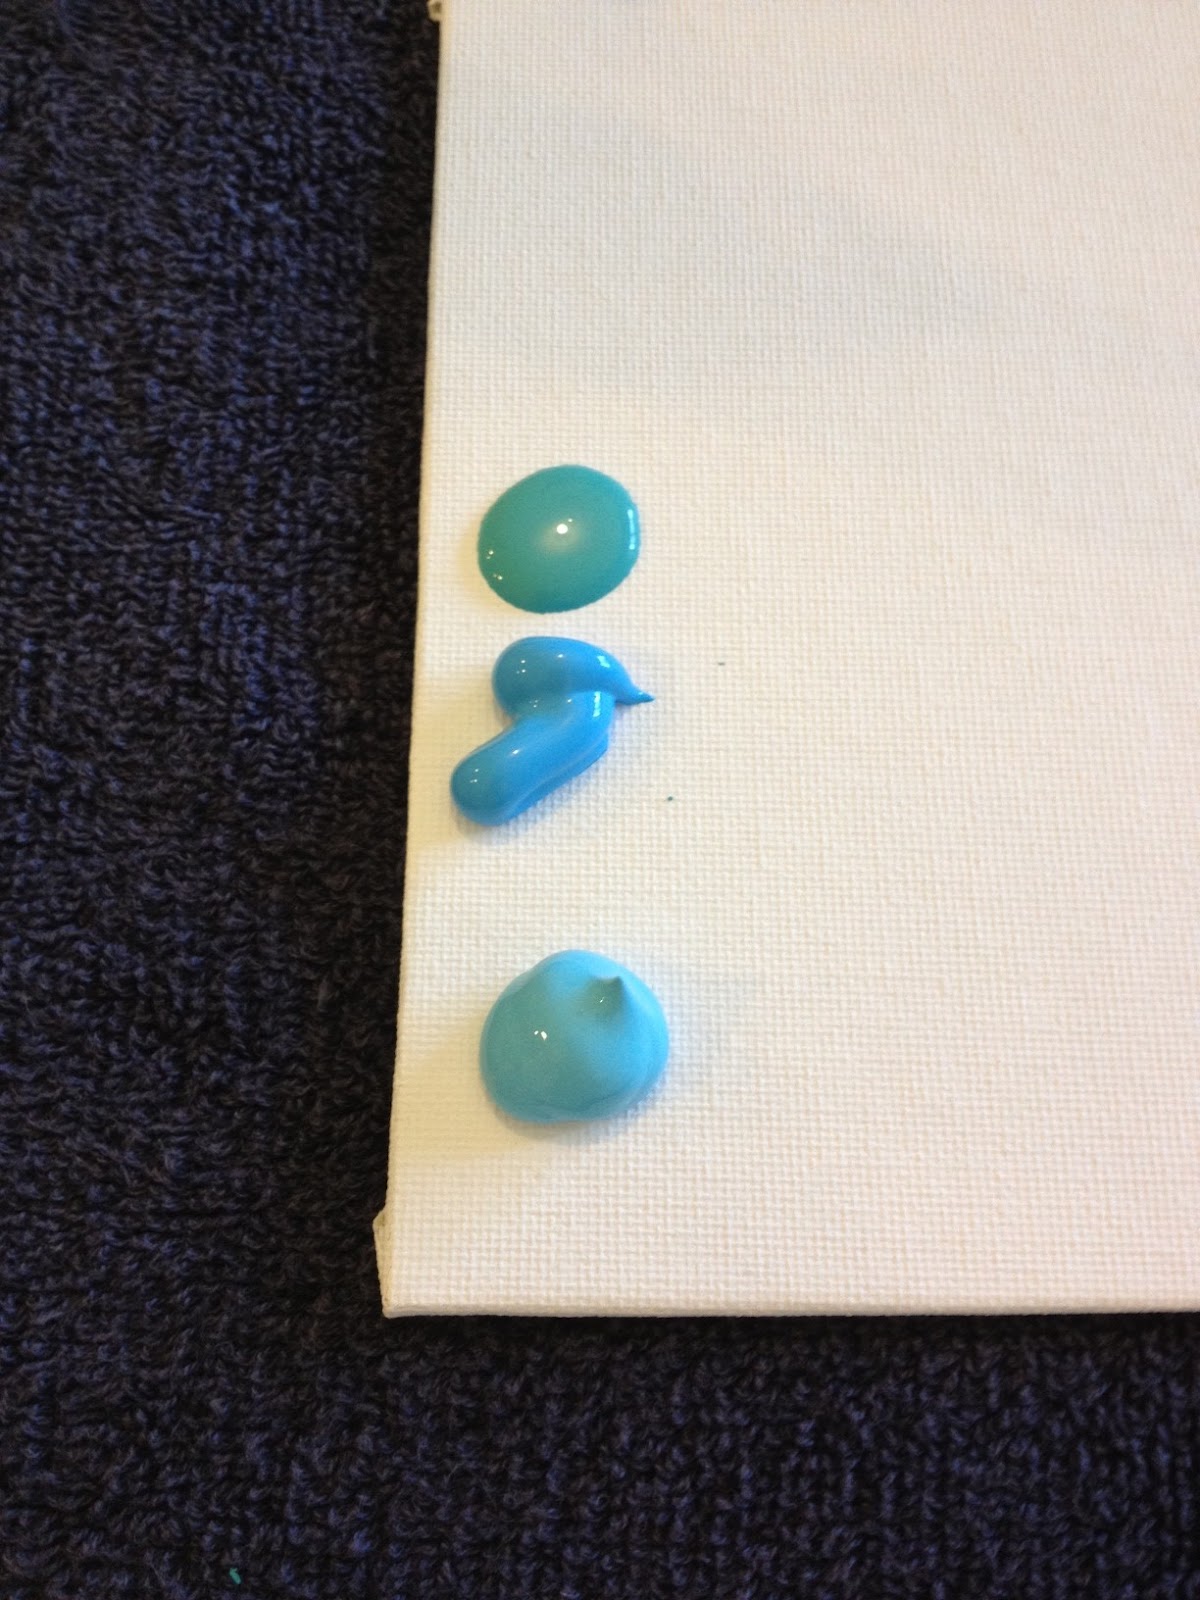
1. Put a few dollops of paint on your canvas. They don’t have to be in any particular location or order. Just put them wherever you like.
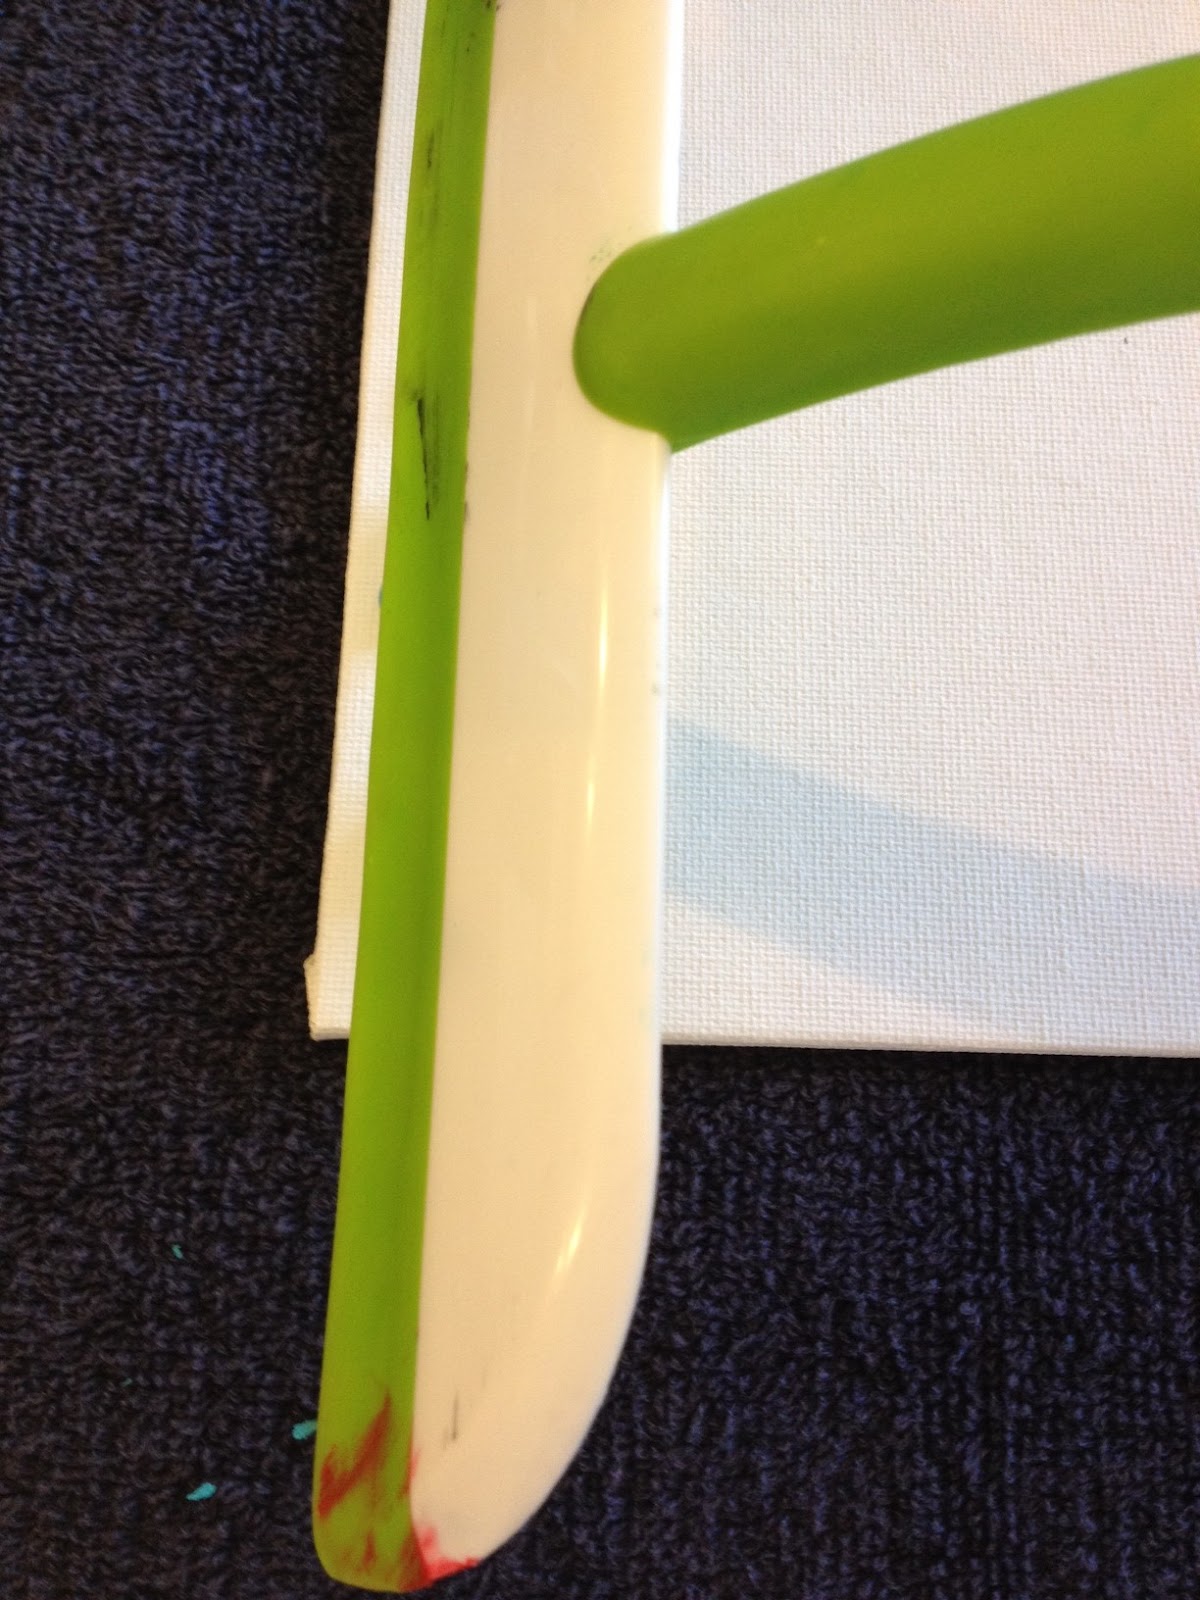
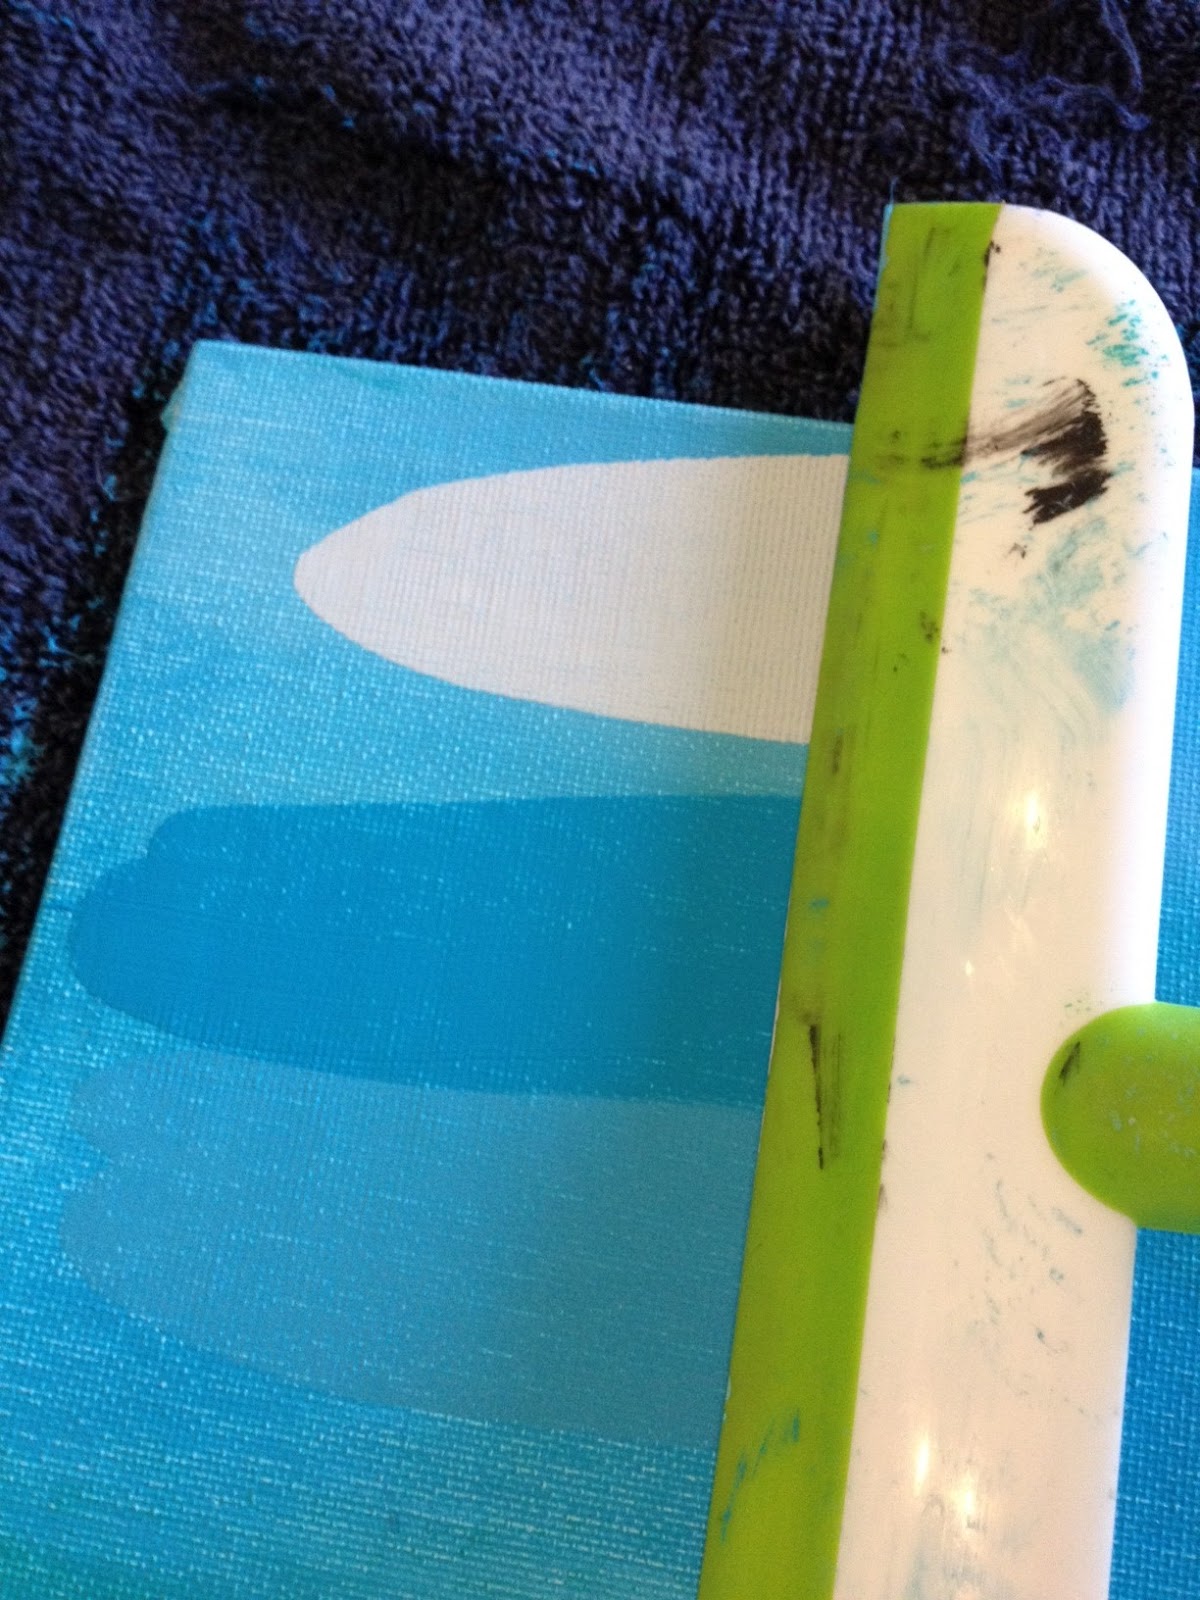
2. Take your squeegee and place it against the canvas.
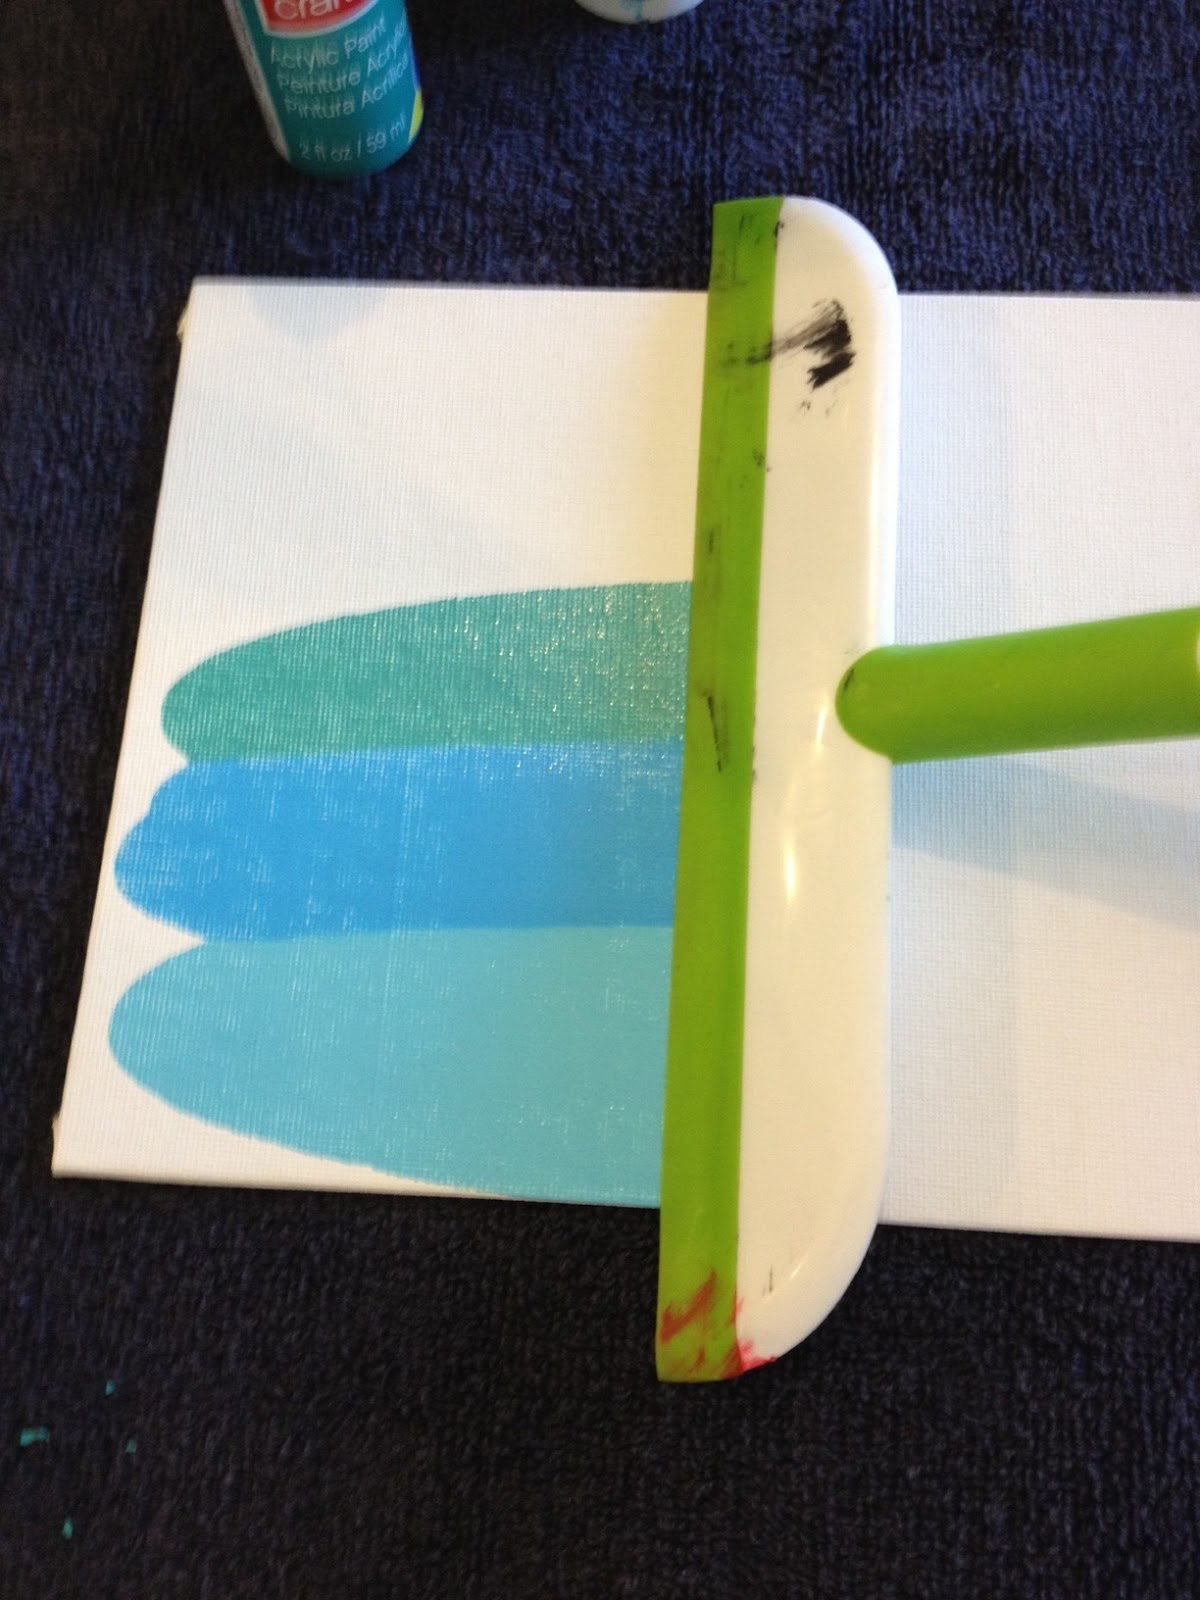
3. Slide the squeegee across the canvas.
4. Continue to add drops of paint onto your canvas until you get a look that you desire. Place drops of paint in different locations on the canvas so you can get the color all over the canvas. You can even slide the squeegee in different directions for different effects.
5. Placing these blue drops of paint at the top of the canvas, will create an effect as seen in photo two of the below collage. Placing the green drops of paint in the middle of the canvas will create an effect as seen in photo three of the below collage.
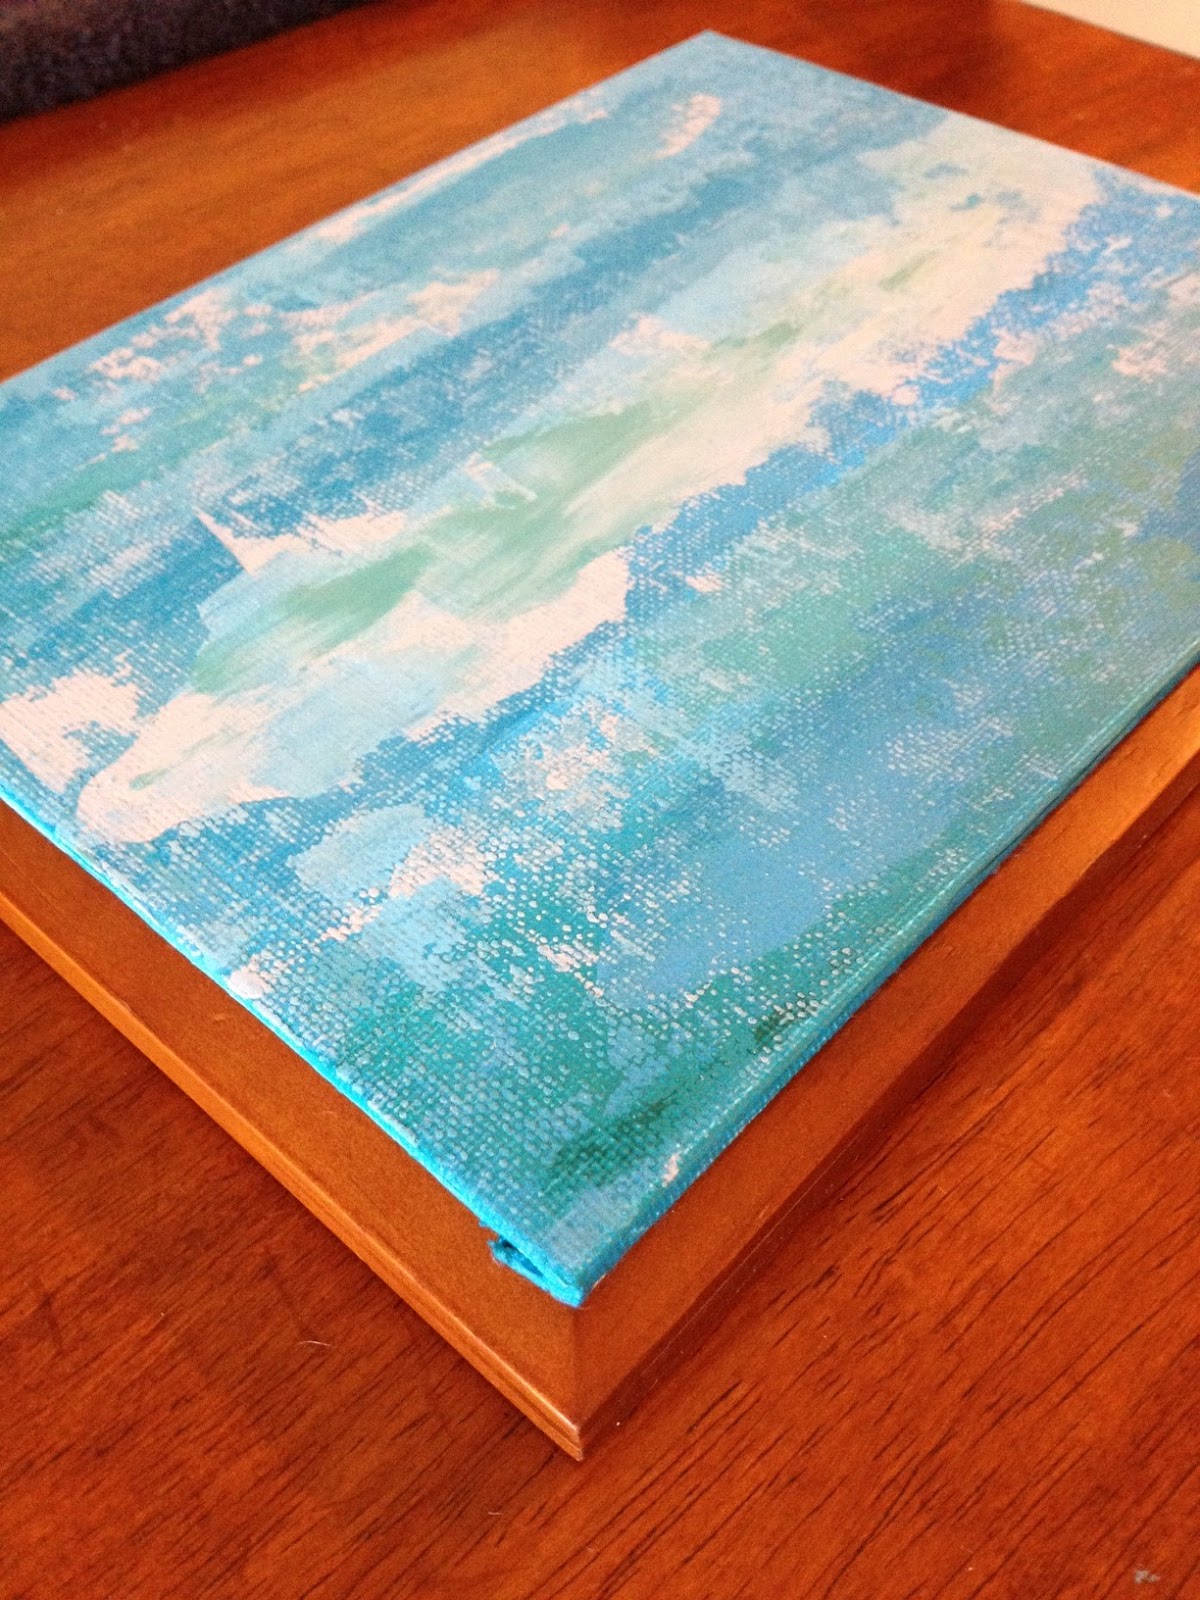
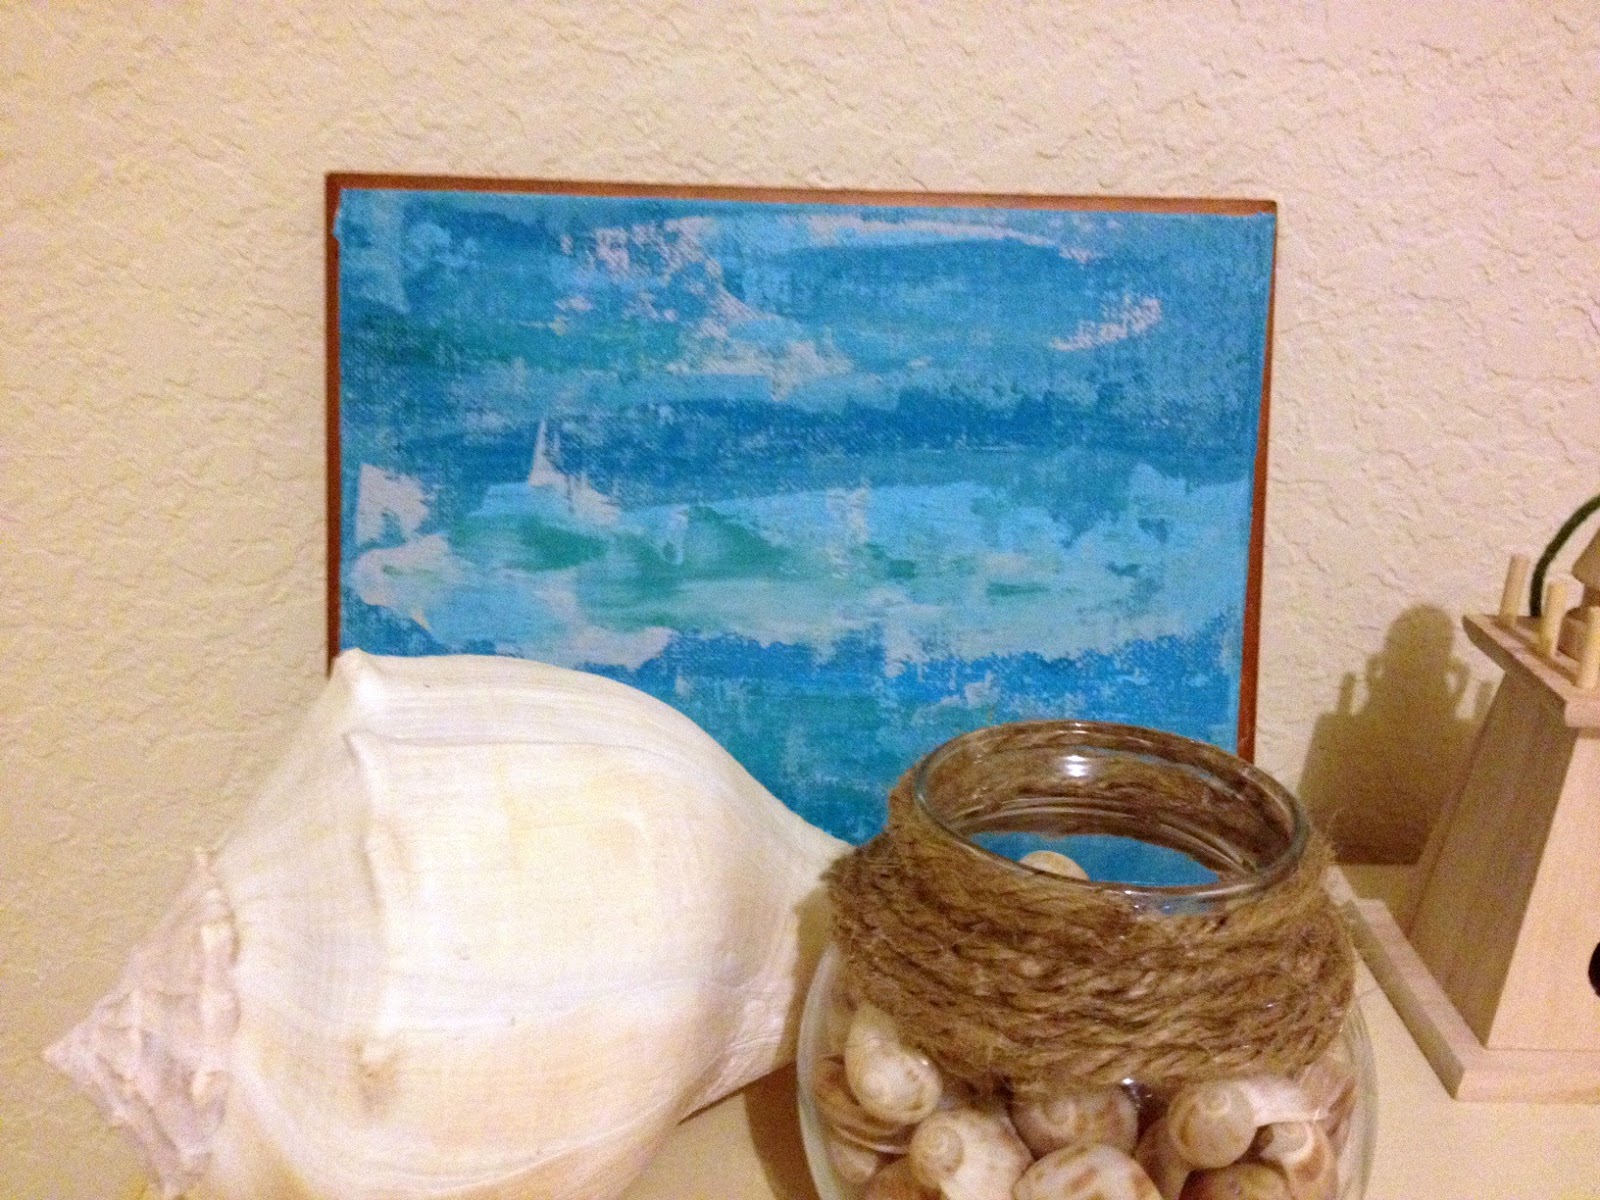
6. This is what the finished product of my squeegee paint canvas looks like. I used some museum putty to attach it to the front of this frame that I got at a thrift store.
I placed it on the console table in our front room. This room has a beachy feel to it so it looks great in the room!


wow, that is awesome!
What a great idea. This looks amazing!
Your picture is so pretty!
I also wanted to let you know that I nominated you for the Liebster Award!
http://love4ever913.blogspot.com/
Corbin
Looks like fun to do. And not too difficult.
Have a great week.
I love this idea! Me and my little brother are totally doing this for our new rooms! It might even be cool to add a black stencil/silhouette over it for another cool effect.
<3Hima
Great project! It looks simple… but I bet it takes a bit of practice to get it just the way you like it! Have a great weekend.
Wow, I love this! What a cool way to make art! You are Good!! :)
Jen
I love this project!
Great tutorial and it looks like a lot of fun!! I will have to share this with my preschool director too because I think the kids would enjoy it as well! Thanks so much for sharing and I am a new follower from the GFC Hop over at The Life of the Not So Ordinary Wife!
Hope you have a great weekend!
Michelle
http://www.delicateconstruction.com
Thank you!
This is really neat! The blues look fantastic.
Well…if that isn't the neatest idea! I'm gonna have to give that one a go!
Thanks for the follow Julie! ((HUGS))
I adore your squeegee art! It is such a neat idea…I will be using this technique!
I adore your squeegee art! It is such a neat idea…I will be using this technique!
I would have never thought of that! Very cute! Thank you for sharing this at the Make it Pretty Monday at The Dedicated House. Hope to see your prettiness again on Monday. Toodles, Kathryn @TheDedicatedHouse
SO so creative … and the perfect touch for your console! Thanks for sharing your tutorial at the {what's shakin' link party} this week!
I tried this idea with my daughter last weekend, and I had to stop by and tell you how much fun it was! I haven’t stopped getting compliments on it since I put it up in my office at Dish! We used different purples, which worked out just as well as the blues! Do you come up with these ideas on your own? I wish I could be this creative with what I have around me. I watch a lot of DIY Network for inspiration, and it’s turned into quite the addiction! I record everything from that channel! Luckily, I have the Hopper DVR that comes equipped with loads of recording space to house my DIY obsession. The only problem is that they don’t feature many DIY activities that I can include my children in, so I’m happy to find this blog. This art project was tons of fun, and I look forward to future posts!
Hi Max!
Thank you so much for stopping by and letting me know how the project went! I am glad that you enjoyed working on it with your daughter. :)
A while back, I was browsing some painting websites and someone mentioned using a squeegee to paint with. So I got a squeegee and started painting with it to see what I could do. I worked on my first painting for a few weeks before getting it just how I wanted it to be. I would let it dry and then paint some more so I could get different effects. I think I have photos of my first and one that I did for my mom. I will have to do a post with those paintings sometime soon!
Thanks again for stopping by. :)
Julie
These look so great! Thank you for posting on Saturday Show and Tell. I hope you'll be back this week.
-Mackenzie
http://www.cheeriosandlattes.com
You're a Featured Favorite on Saturday Show & Tell this weekend on Cheerios and Lattes!
Mackenzie :)
Thank you so much, Mackenzie! I am so excited that you featured my Squeegee Art project! :) I will write up a post about it!
Julie
What a great idea!! Who knew a squeegee could make something so pretty??!! This would be fun for the kiddos.. hmmm I'm considering trying this with my daughter even though it would be messy cause she's very young, it would be a blast!! Thanks so much for sharing at my party and I can't wait to see what you share next!! If I ever get a project done, I'll be back to party with you too ;)
Thank you, Britni!
I love how this turned out! Amazing that you didn't need to use paint brushes. Thanks so much for sharing on Tout It Tuesday! Hope to see you again.
Thank you! Thanks for hosting again! :)
Julie
I love this idea! So easy but it looks really effective :)